
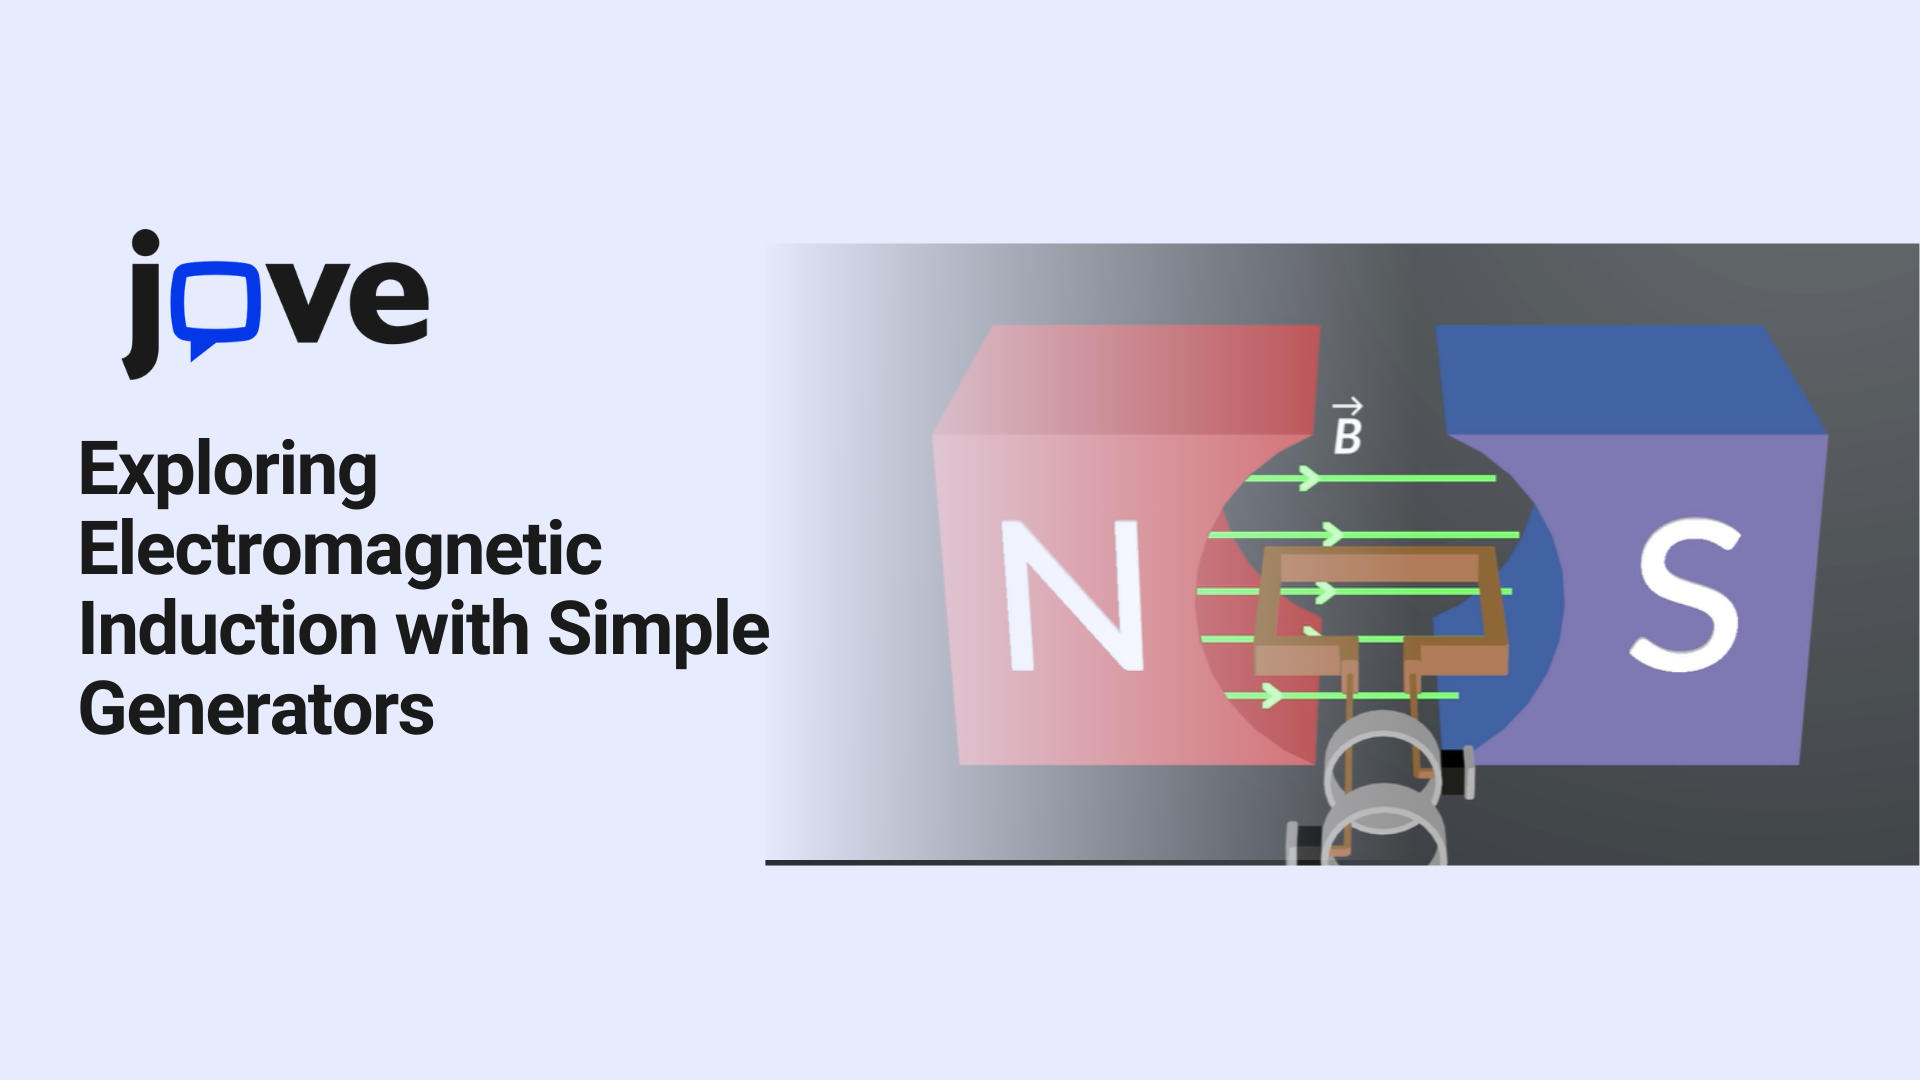
Exploring Electromagnetic Induction with Simple Generators
Introduction: The Blackout Mystery
During a thunderstorm, a small town lost power. Hours later, a local technician arrived with a portable generator and restored power to key buildings within minutes. Curious students watching the repair asked, “How did that small machine bring back the lights?”
The answer lies in electromagnetic induction, a fascinating concept that reveals how changing magnetic fields create electric currents — a principle discovered by Michael Faraday.
Research published in the Educational Psychology Review found that students using visual aids to learn science concepts demonstrated 36% better understanding compared to text-only methods (Source). Visual demonstrations, like those found in JoVE educational videos, effectively simplify complex topics like electromagnetic induction by connecting theory to real-world applications.
In this blog, we’ll explore how electromagnetic induction works, highlight common misconceptions, and share engaging experiments — all enhanced by JoVE’s educational videos to simplify this powerful concept.
What is Electromagnetic Induction?
Electromagnetic induction occurs when a changing magnetic field creates an electric current in a conductor. This is the fundamental principle behind generators, transformers, and even wireless charging.
Faraday’s Law Explained
Faraday’s Law states that the size of the induced voltage depends on:
- The rate of change of the magnetic field.
- The number of wire loops in the conductor.
- The strength of the magnetic field.
In this JoVE video on electromagnetic induction, students can see how moving a magnet through a coil produces a measurable current. The video clearly shows how the faster the magnet moves, the stronger the induced current — reinforcing Faraday’s Law in action.
Why Does Electromagnetic Induction Sometimes "Fail"?
When students try electromagnetic induction experiments for the first time, they often encounter issues like:
- No current detected.
- Weak or inconsistent voltage readings.
- Surprising polarity changes.
These common mistakes usually happen because:
- The magnet’s motion is too slow.
- The wire coil has too few loops.
- The magnetic field’s strength is insufficient.
In one of JoVE’s demonstration videos, you’ll see how adjusting these variables — such as adding more wire loops or moving the magnet faster — dramatically improves the results. This visual demonstration helps students correct their misconceptions and successfully apply Faraday’s Law.
Building a Simple Generator: Electromagnetic Induction in Action
To demonstrate electromagnetic induction, building a simple generator is an effective hands-on experiment that aligns with Faraday’s principles.
For educators looking to align this experiment with NGSS or other educational standards, JoVE’s Standards-Based Teaching Resources provide ready-to-use materials that simplify planning and ensure key science concepts are covered.
Materials Needed
- Copper wire (enamel-coated)
- Strong magnet (neodymium recommended)
- Cardboard tube (like a paper towel roll)
- LED bulb
- Sandpaper
Steps to Build the Generator
- Wrap the Wire: Wind the copper wire tightly around the cardboard tube, forming at least 100 loops to maximize induction. Leave both ends of the wire exposed.
- Prepare the Wire Ends: Use sandpaper to remove the enamel coating from the wire’s ends.
- Insert the Magnet: Place the strong magnet inside the cardboard tube.
- Connect the LED Bulb: Attach the wire ends to the LED’s terminals.
- Test the Generator: Quickly shake or move the magnet back and forth inside the coil. Watch as the LED flickers with each motion.
In JoVE’s simple generator video, students can watch each step in action. The video emphasizes the relationship between the magnet’s speed, coil loops, and LED brightness, reinforcing key scientific concepts.
Real-Life Applications of Electromagnetic Induction
Electromagnetic induction powers many essential technologies, including:
- Power Plants: Large-scale generators convert mechanical energy into electricity.
- Bicycle Dynamos: Small generators power bike lights as wheels spin.
- Wireless Charging: Devices like smartphones charge by inducing currents through coils.
In JoVE’s real-world physics videos, students can explore how electromagnetic induction drives these everyday technologies.
Try This! Classroom Challenge
Magnetic Field Detectives: Mapping Invisible Forces
Materials: Bar magnet, compass, copper wire coil, small bulb/voltmeter
- Create the Magnetic Map: Place a bar magnet on a flat surface. Use a compass to trace the magnetic field lines on paper.
- Predict the Current Flow: Ask students where they believe the strongest induction will occur.
- Test It: Move the copper coil near the magnet at various angles and speeds. Record when the strongest voltage occurs.
- Explain the Results: Use JoVE’s electromagnetic induction video to help students connect their observations to Faraday’s Law.
This challenge encourages prediction, observation, and scientific inquiry, while reinforcing key electromagnetic induction concepts.
Conclusion: Bringing Electromagnetic Induction to Life with JoVE Videos
Electromagnetic induction is a powerful concept that can feel complex at first. However, with clear visuals, interactive experiments, and relatable real-world examples, students can grasp it far more easily.
By incorporating JoVE’s engaging educational videos, teachers can break down the science behind magnetic fields, current flow, and generator design — all in a way that’s memorable and impactful.
Next Steps:
- Explore JoVE’s electromagnetic induction videos to simplify this topic for your students.
- Try the Simple Generator or Magnetic Field Detective experiments to create hands-on learning moments.
- Challenge students to identify electromagnetic induction in their daily lives — from charging their phones to turning on a bike light.
With the right tools and teaching strategies, electromagnetic induction becomes more than just a theory — it becomes a concept students can see, test, and understand.

